This guide will explain the website images section of the response builder.
The goal of this section is to give a visual explanation of the customer’s experience. It should highlight what you promised and what the customer agreed to.
 |
Visit your website and take screenshots of the most important steps in the customer journey. Examples of things you may want to include are:
-
The product page
-
The checkout page
-
Billing and shipping information
-
The order confirmation page
Then come back to DisputeFlow and locate the website images section in the dispute response builder.
 |
Click the arrow to expand the section and begin uploading images.
 |
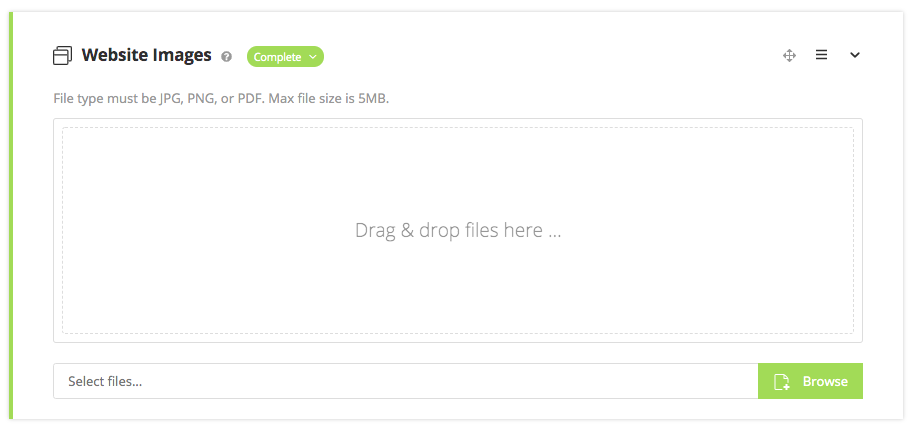
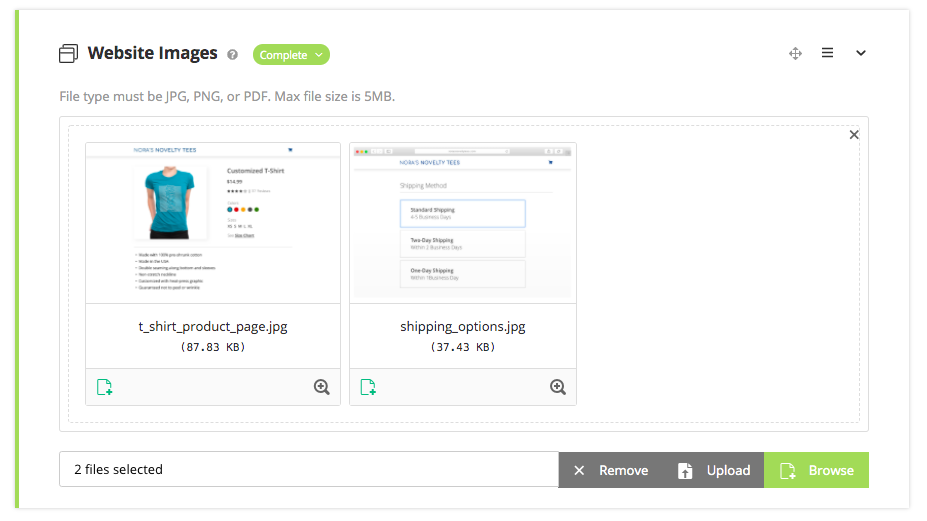
You can search your files for the images or drag and drop them here. You can upload multiple screenshots, but note the preferred file type and size.
 |
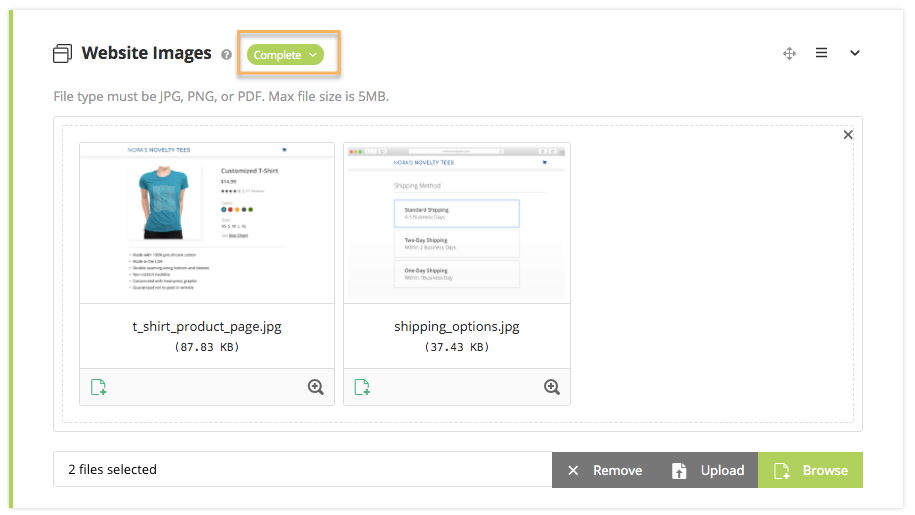
When you are done, mark the section as complete.
 |
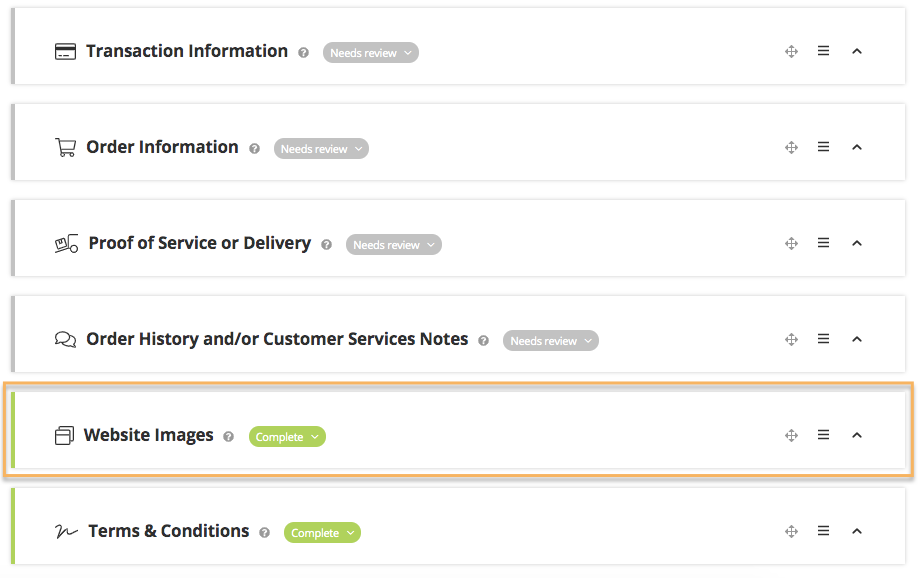
Like other sections in the builder, you have the option to rearrange the order of the information.
 |
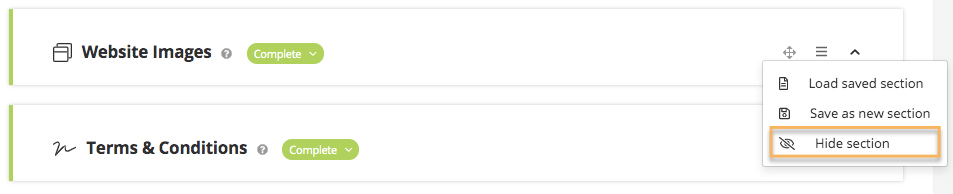
And if you don’t have any compelling website screenshots — for example, the transaction was made over the phone — you can omit this section from your dispute response.
 |
Then, move on to the next section or click “Next Step” if the dispute response is finished.
 |
Comments
0 comments
Article is closed for comments.